< >

Storeoboard

A stereoscopic, sketch-based, storyboard tool
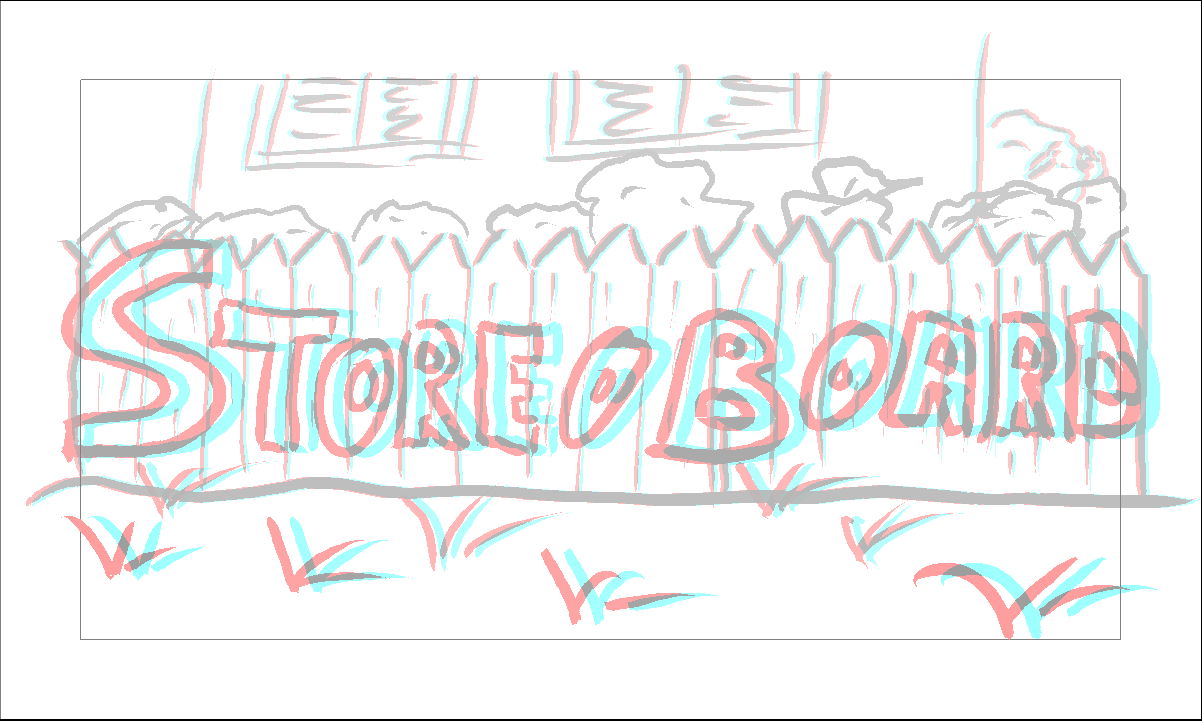
results using the storeoboard app - image says 'storeoboard'
Storeoboard is a prototype tool that allows artists and directors to create stereoscopic storyboards, in real-time from the earliest stages of planning.
This version of Storeoboard is a prototype stereoscopic storyboard tool that allows artists and directors to create stereoscopic storyboards, in real-time, to discuss concepts unique to stereo 3D from the earliest stages of planning.
Problem
There’s a group of filmmakers who understood how to make good stereo 3D films, and the key is proper planning. However, there are no good tools for early stage planning of stereo 3D. The best that exists is to use a form of previs where one creates crude 3D animations of the scenes, and one discusses and plans from there. This is great as a “next step”, but is lousy for initial ideation and planning; a stage where typically one uses rough storyboards.
Solution
To solve this problem, I designed and created a stereoscopic 3D storyboard tool, which allows the user to adjust their drawing depth in real-time, enabling fast iterative drawing, while the artist and director are engaged in conversation.
My Role
Project Designer & Manager
Researcher
Developer
Tool
C++
OpenGL
Adobe Photoshop
Adobe Premiere
Hardware
Microsoft Surface 2
Wacom Cintiq
Process
Discovery
Surveys & Interviews
Ideation
User Stories
Design
Prototyping
Usability Testing
Reflections & Synthesis
examples of some stereo images

Discovery

Through the discovery process, interviews were held with, and surveys were administered to multiple directors, a stereographer, multiple students and professors, and multiple storyboard artists. Concepts were further developed through feedback of an interactive prototype, and working directly with a storyboard artist.

Initial Feedback

Through this process, it was determined that a storyboard tool to enable stereo 3D needed to be:
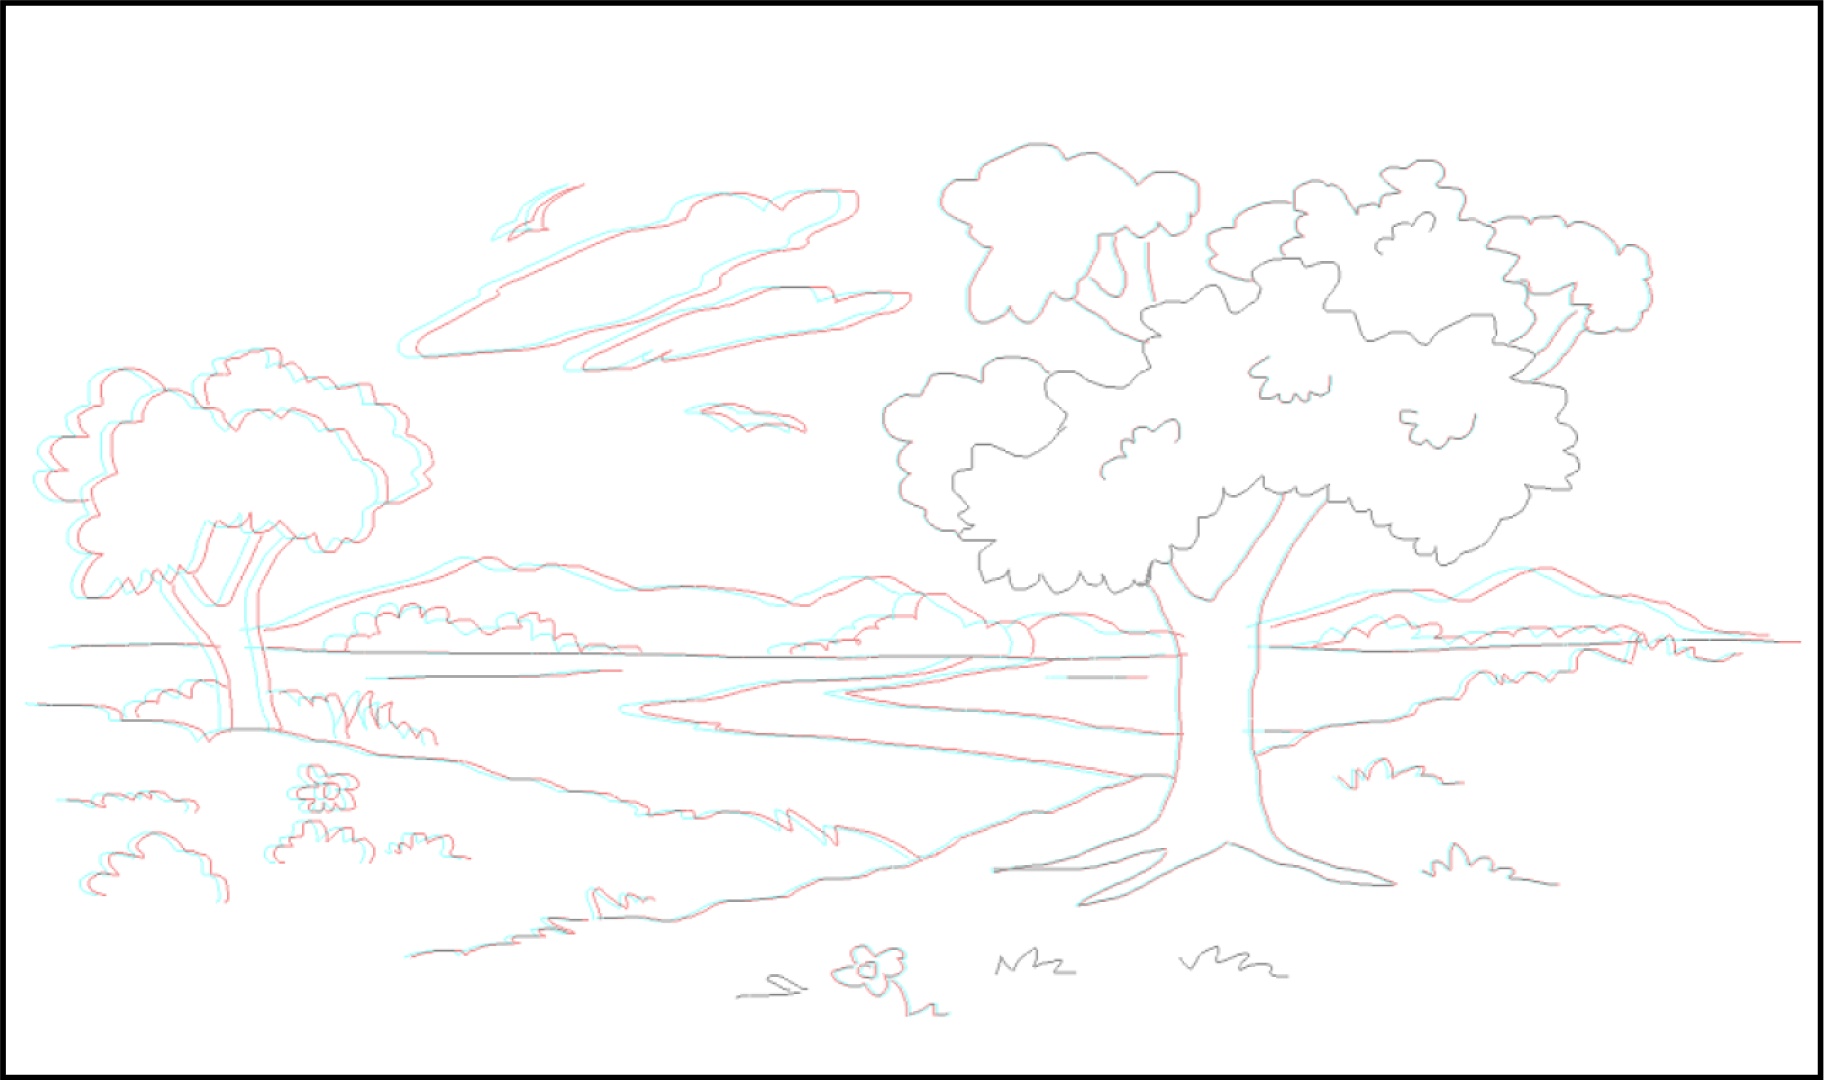
  • Non-intrusive: mimic pen & paper, free of distractors, minimal menus/dropdowns/etc.
  • Quick for authoring: quick to create and edit; minimal tool switching; auto saving
  • Provide Instant feedback: real-time feedback; no offline/post-processing
  • Includes an Overview: the ability to see an overview of the created panels, navigate quickly between them, and rearrange them as needed.

example stereo image of two trees in foreground with mountains in the background. Made using the initial prototype

Example made by rotoscoping with the initial interactive prototype
Ideation

User Stories
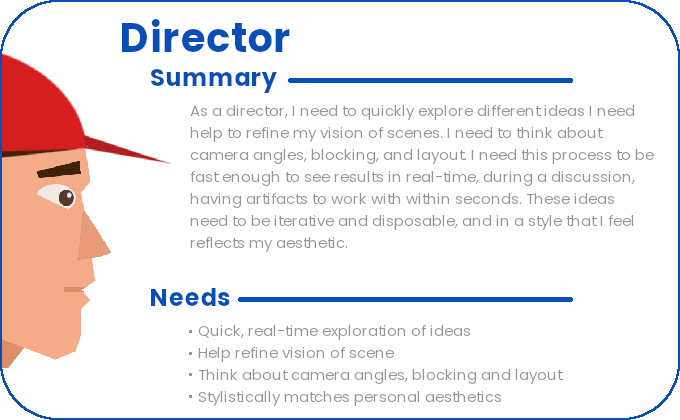
Director Card: As a director, I need to quickly explore different ideas I need help to refine my vision scenes. I need to think about camera angles, blocking, and layout. I need this process to be fast enough to see results in real-time, during a discussion, having artifacts to work with within seconds. These ideas need to be iterative and disposable, and in a style that I feel reflects my aesthetic.
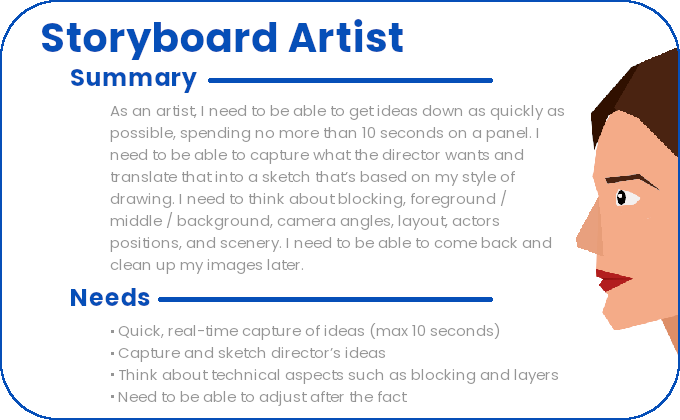
Artist Card:As an artist, I need to be able to get ideas down as quickly as possible, spending no more than 10 seconds on a panel. I need to be able to capture what the director wants and translate that into a sketch that’s based on my style of drawing. I need to think about blocking, foreground / middle / background, camera angles, layout, actors positions, and scenery. I need to be able to come back and clean up my images later.
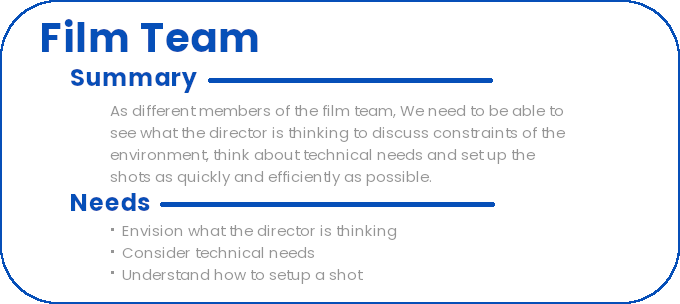
Team Card:As different members of the film team, We need to be able to see what the director is thinking to discuss constraints of the environment, think about technical needs and set up the shots as quickly and efficiently as possible.
Constraints

“How to bring stereoscopy to the storyboard authoring process?” is twofold.

  1. how to enrich sketching with depth, without increasing cognitive load?
  2. how should users interact to control stereoscopic visualization while creating content?

This solution needs to provide support for stereo concepts such as:
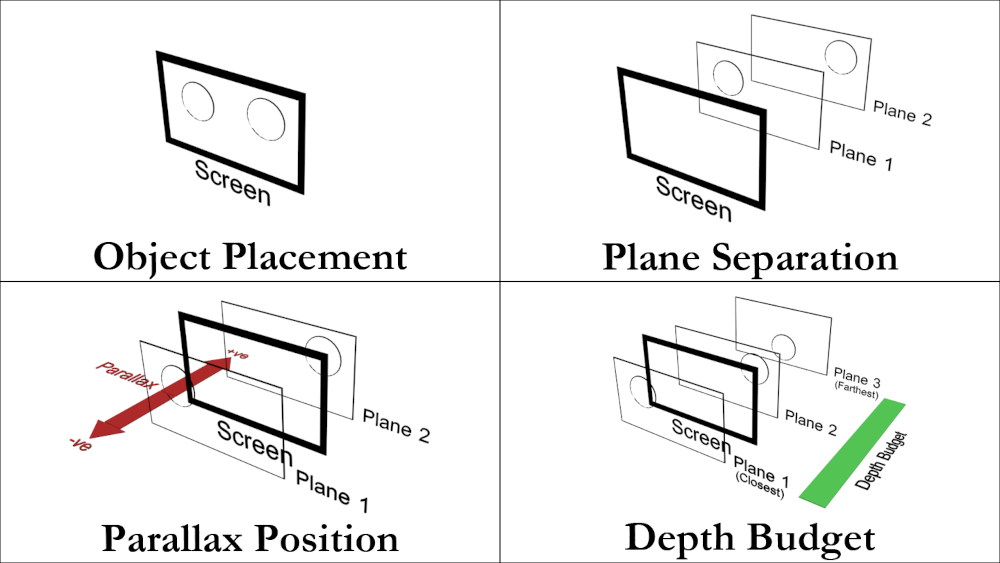
  • Object Placement: where things are in the screen
  • Plane Separation: the amount of space between each layer
  • Convergence Location & Parallax Position: what images are on the screen itself, what is in audience space, what is in screen space
  • Depth Budget: how “deep” are the scenes - what is the amount of distance between the closest and farthest planes

Image showing different stereo considerations and constraints. Shows concepts of image placement, plane separation, paralax position, and depth budget

Design

There were multiple challenges with the design of the UI. First, was to have a “non-intrusive” or minimal UI while drawing. Secondly, there are unique controls needed for stereo and storyboards. To help with these issues, I introduced a concept:

shows pen drawing The Pen Draws...
shows finger touching a touch surface The Hand Manipulates

Next, I took advantage of the drawing frame that exists in storyboards, and put all interactive elements outside of that frame.


After considering different approaches, to enable live-time results, my end solution was to approach the problem as if it was a stack of transparent sheets, where the artist simply chooses the depth at which they wish to draw and starts sketching. By wearing red/cyan anaglyph glasses, they can sketch in real time, seeing the effect of the depth as they’re working.

showing concept of layering for depth - sideways view of an eye looking at an image stacked on several others, with the final front viewed image as the result

Prototype

The final Storeoboard, is the result of an iterative, user-centered design process. On three separate occasions, throughout the project, a professional storyboard artist came in to provide feedback and help refine Storeoboard’s techniques and workflow. Many design decisions were guided by the regular feedback from the artist.

Iterations

The initial prototype was simply a sketch surface that had 20 predefined planes at varying depths that one could select from a bar on the right
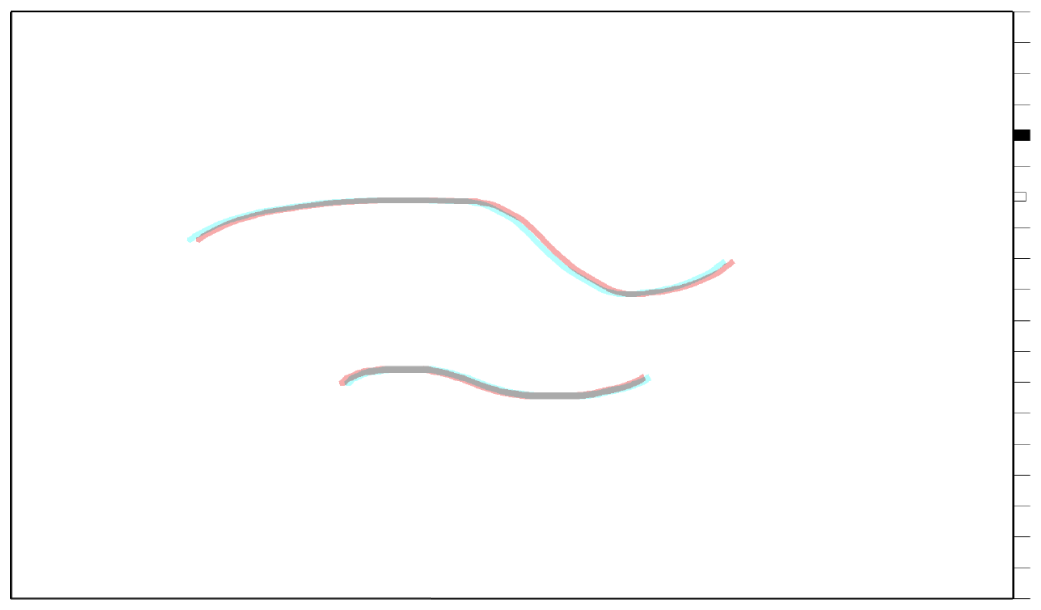
Simple sketch surface with a few lines. Along the right are 20 evenly spaced tick marks to represent available depth.
Initial interactive prototype
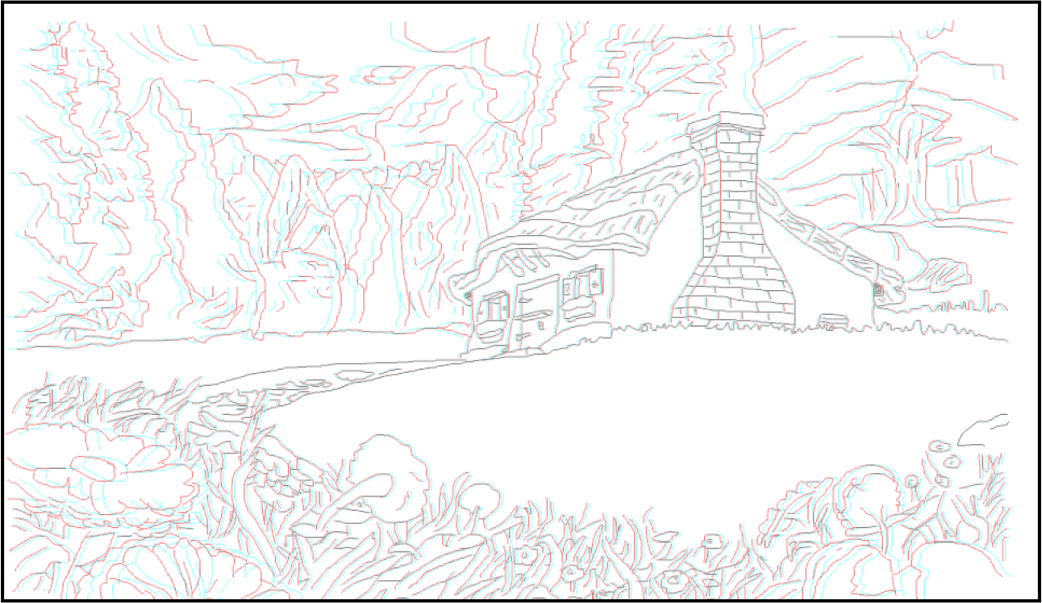
a detailed stereo image of a cottage with trees in the background. Lines are only 1 pixel in width. Image was created by rotoscoping.
Image made with this version by rotoscoping a picture

A variation was also attempted where the position of the tablet was tracked and the plane was selected according to the distance between the tablet and the user’s body. The approach was dropped as users found it more difficult to control the depth, and had problems finding their previous drawing planes.

Basic UI

There were a few versions of the final prototype, however, the differences were based on added functionality rather than functional changes.

The final prototypes included a storyboard, a sketch surface, and a depth board. The following images, show the tools available from the sketch surface.
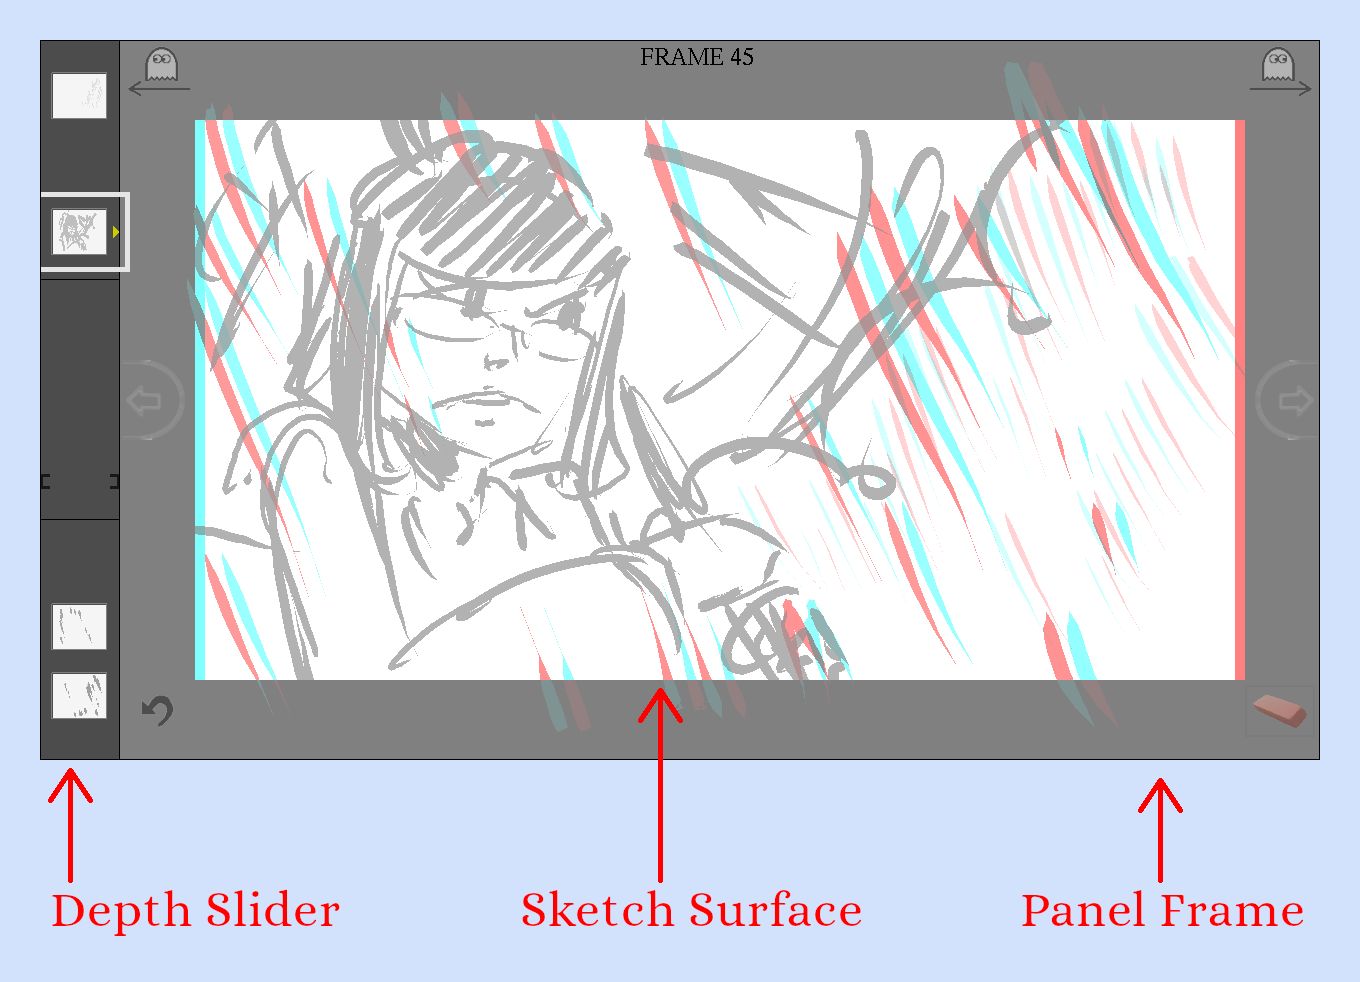
Picture showing overall user interface of sketch surface - indicating depth slider, sketch surface, and panel frame
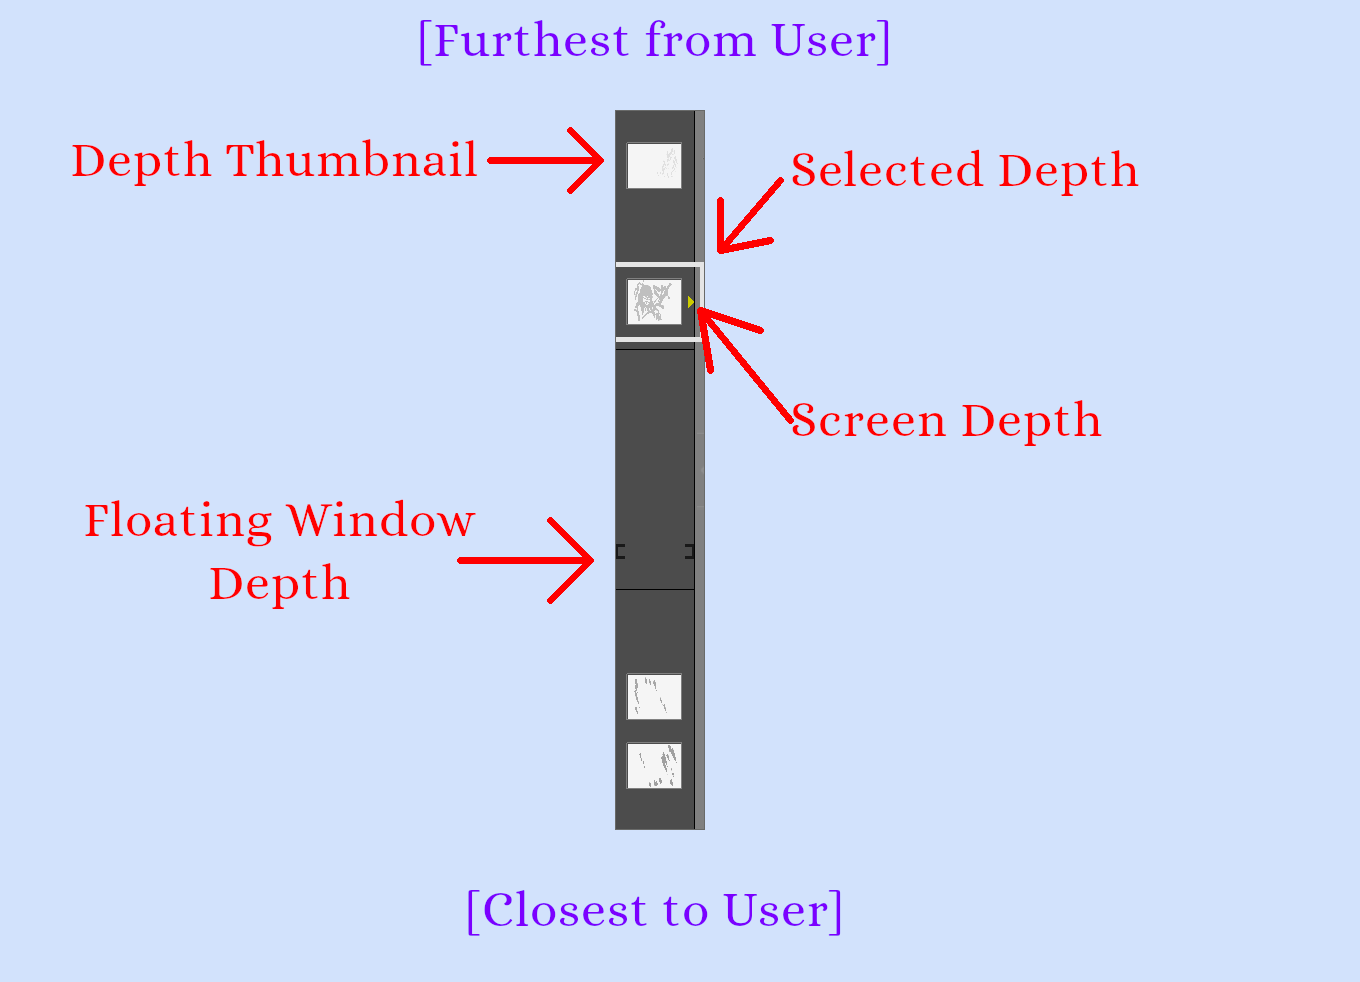
Picture showing overview of the depth slider - depth thumbnail, selected depth indicator, screen depth indicator, floating windows depth
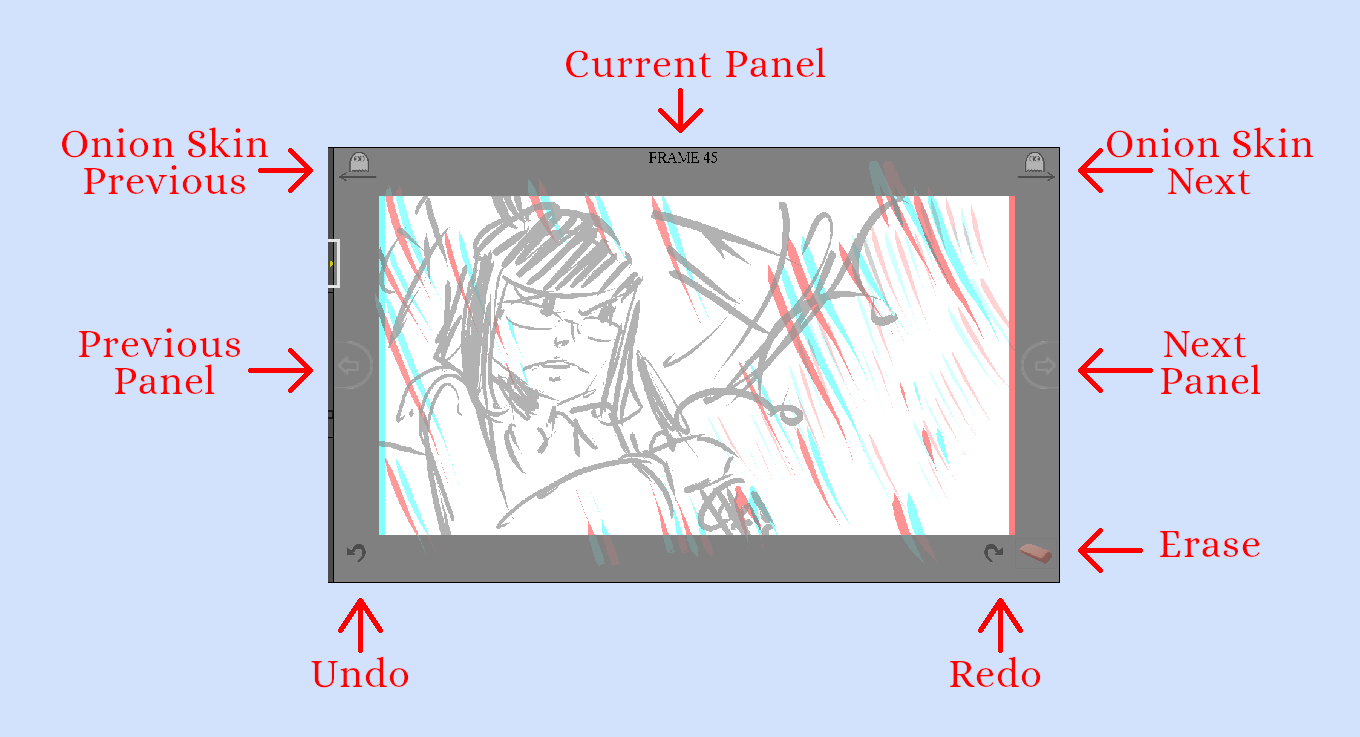
Picture showing overview of sketch area - Onion skinning toggle for next/previous, current panel indicator, locations to tap for next and previous panel, and erase, undo, and redo buttons

From the few basic UI elements one had many controls. With the depth bar, not only could one select the depth at which to draw and see where the current planes were laid out (in foreground, midground and background), but one could also move the depth of one or more planes, change the default screen depth position, add layers, and squish or stretch-out the amount of depth being used. Apart from drawing, one could also turn on or off the stereo view of the scene, switch to the overall storyboard, or switch to the depth board (not shown here).

Usability Testing

Usability testing was done with 3 different groups, using different approaches to elicit different types of information.

Session 1:  Focus Group

  • A workshop was held at a local arts college consisting of 3rd and 4th year storyboard artist students and their instructors – both teachers were professional storyboard artists. A follow up survey and discussion was conducted.

Session 2:  Semi-Structured Interviews

  • Interviews were conducted with three directors who work or have worked with stereo films, two technical directors and one stereographer, for whom storyboards is a critical reference and communication tool.

Session 3:  Deployment

  • the tool was deployed and used for the film “40 Below and Falling” (now called “A Frosty Affair”), which won a prestigious 3D Lumière award for their 3D work on the film.

Here are some comments:

“there really isn’t a language to convey ideas in stereo… [Storeoboard is] the first of its kind”

“It was a big thing, especially for crews that haven’t worked with 3D and don’t really understand, what should [be done]…it allowed them to see right away rather than on set”

“You can work at the speed of thought”

“I really like how the interface is simple and intuitive […] it reminded me of drawing on note cards”

“allowed things to flow so much easier between departments”

Reflection

There were many insights to learn from this project. Just having a better understanding of the world of film and storyboards was rewarding in itself. However, this project really required me to think about simplicity and streamlining interactions. Simple things like, in this domain, speed was more important than animated transitions. This project also required an absolute user centric approach. Working directly with the storyboard artist really emphasised the way their needs were of the utmost importance and that at times, standard UI had to be reconsidered.

One of the drawbacks of the plane approach is that all the items are flat. Though this is fine for storyboards and a comic style of drawing, this can cause challenges for traditionally trained artists who are used to starting with sight lines and working more with perspective. However, these challenges all present opportunities for future work and development.

more examples more examples more examples

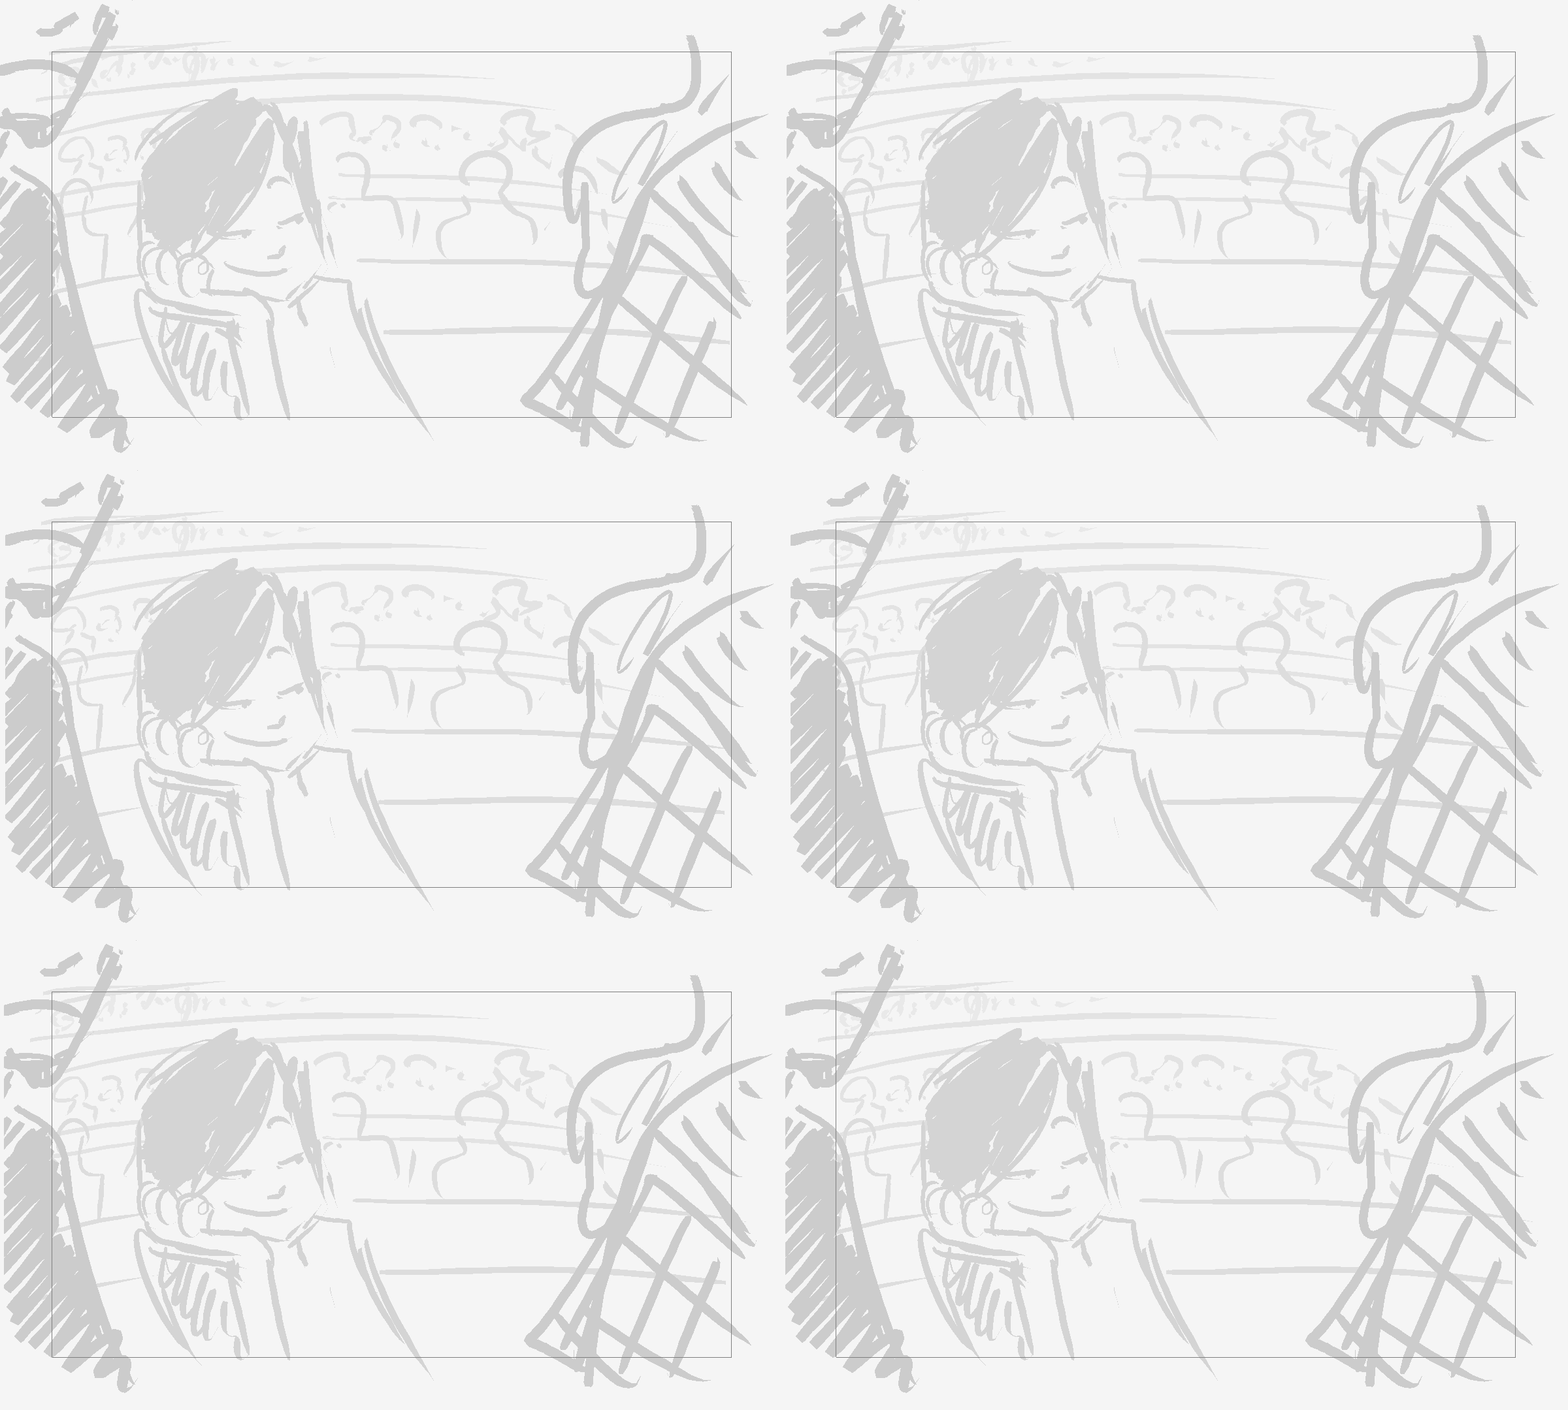
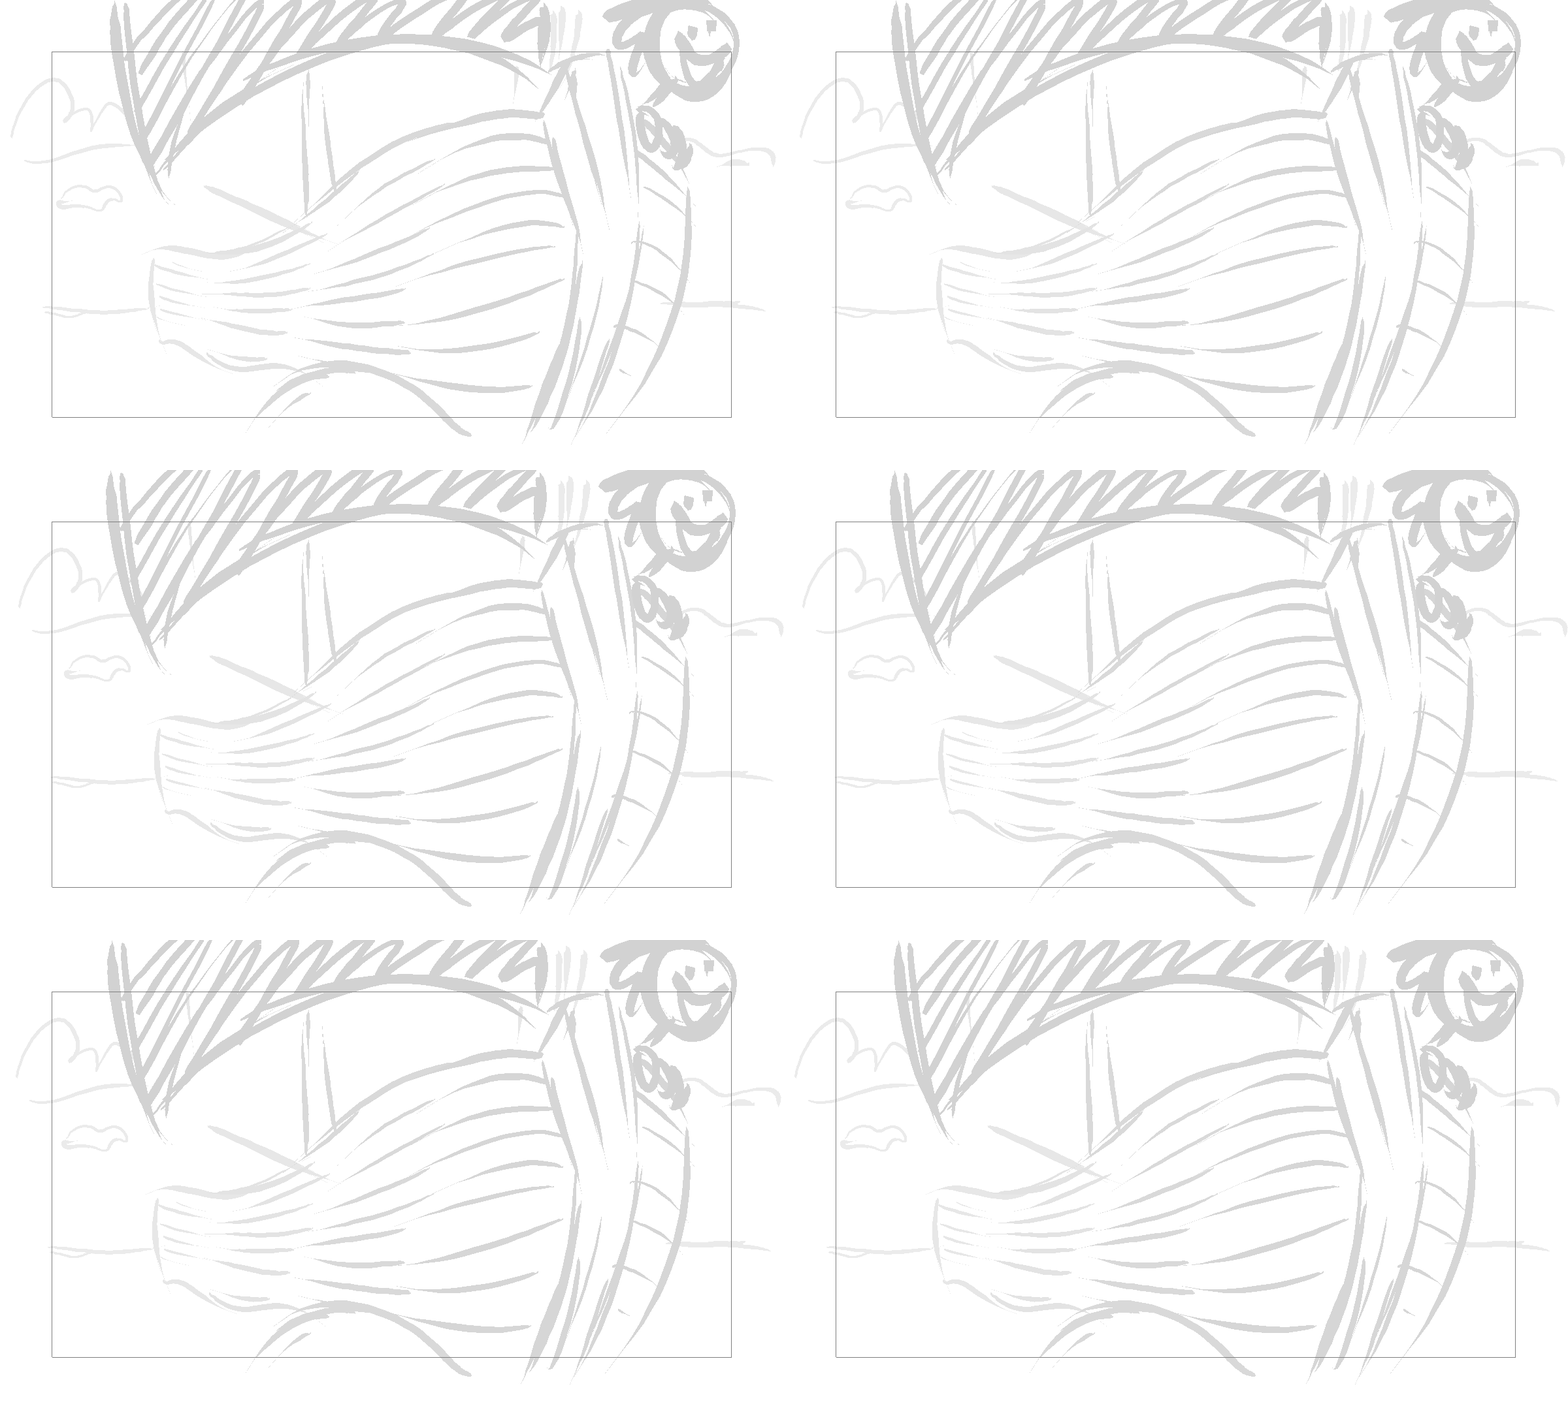
The following images use a “wiggle” technique to allow one to visualize the depth
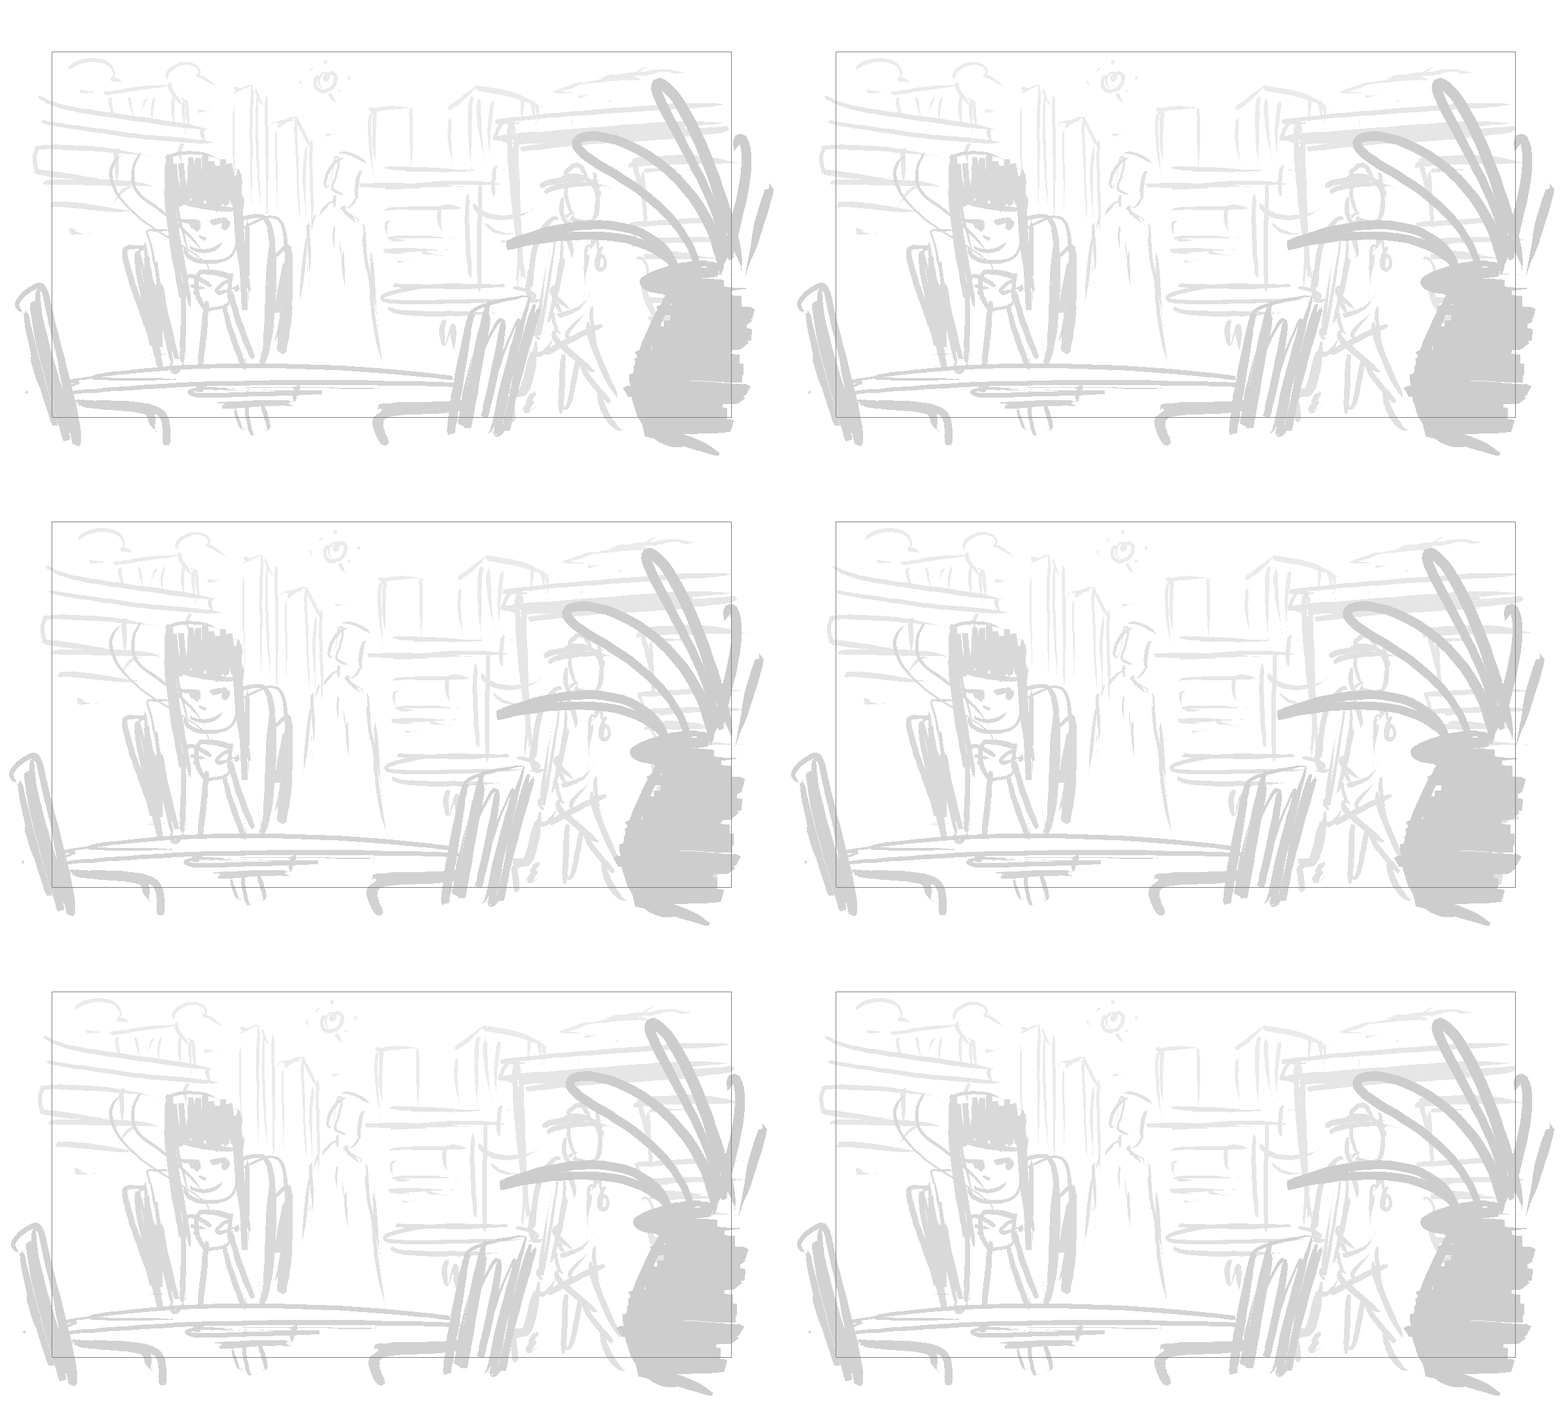
example showing depth by wiggling left and right - image of a girl drinking a coffee at a cafe example showing depth by wiggling left and right - image of a girl day dreaming during a lecutre example showing depth by wiggling left and right - image of person riding a boat